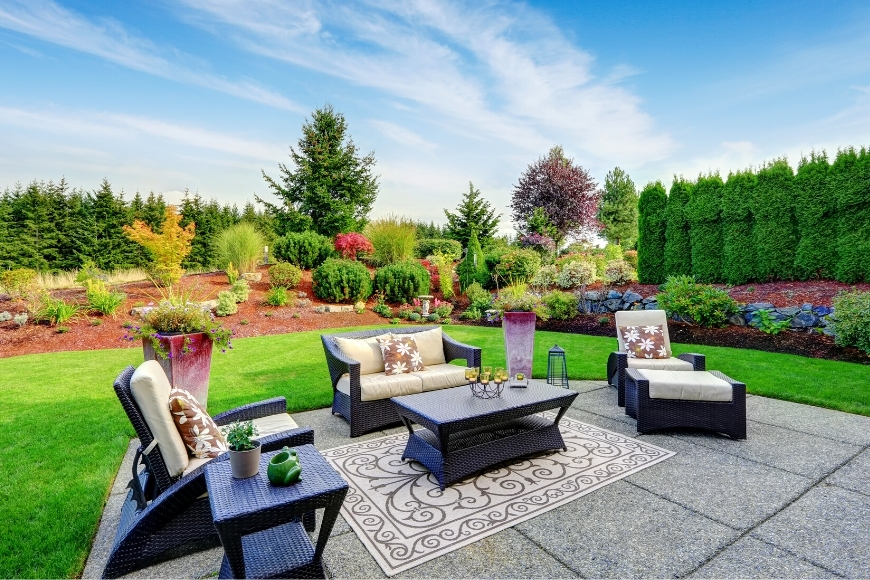
If you’re looking for a little more privacy, a living fence is a beautiful and effective way to do so. Not only is a natural fence a softer, more eco-friendly approach to marking your property line and keeping your kids and pets within those lines, but shrubs and hedges improve your curb appeal.
So, what do you need to know about using plants to create a fence? Read on and get ready to break ground to grow your own natural fence.
What Is a Natural or Living Fence?
A natural fence is a boundary made from trees, vines, or shrubs. With the right selection of plants, a living fence will provide a dense screen of leaves and branches to provide your yard with privacy and security.
What Are the Benefits of a Privacy Hedge vs. a Fence?
If you’re debating between a living fence and a traditional fence, you may be wondering why so many people are choosing plants over planks.
When you choose to go green with your privacy screen, you can enjoy these added benefits:
- Eco-friendliness
A living fence provides birds and small mammals a habitat while also producing flowers for pollinators. When you grow your own fence, you’re also reducing the need for raw materials--you’re growing trees instead of cutting them down.
And, of course, living shrubs filter CO2 from the air while creating oxygen, reducing air pollution in the process.
- Beauty
A plant fence is a softer, more attractive alternative to hard material fences. You also have more options than just what color stain or paint your fence is.
- Sound Dampening
Leaves work as a natural sound-absorbing layer, reducing the sound of road noise, neighbors’ music, and other unwanted noises.
- Protection & Privacy
Hedges have always been a great way to prevent unwanted intruders (both human and animal). The dense foliage of a plant fence also provides excellent privacy.
Additionally, you can use a plant fence to extend the height of a traditional fence for additional seclusion. This is a great way to work around codes that fall short of providing you privacy.
- Affordability
A natural fence is often just a fraction of the cost of wood, metal, or plastic fencing plus the cost of labor.
- Windbreak
A living fence softens and redirects the wind, preventing wind erosions and keeping your plants from getting wind-whipped.
- Pest Control
Because a plant fence invites creatures both small and smaller, they often keep one another under control. Plus, live plants give them a place to stay further from your home sweet home.
How to Create Your Own Hedge or Privacy Screen
If you have the space and want a long-lasting natural fence, you likely want to grow a lush hedge or a staggered hedge. To do so:
1. Measure the length, height, and depth of the area you plan to create. Begin to visualize the area and what type of plants you think you may want.
2. Late fall, early spring, or mild winter days are the best times to plant, so give yourself plenty of time beforehand to plan.
3. Choose an evergreen species that is appropriate for your zone. Many people love boxwoods for their ability to be shaped and maintain full foliage throughout the year. Other choices include hollies, rose of Sharon, smoke bush, privet, juniper, and viburnum. For a taller option, consider crape myrtles or Leyland Cypress.
As you shop, note the growth rate. If you’re wanting privacy sooner rather than later, choose a shrub that grows more rapidly.
4. Decide if you want one line of plants or a staggered fence. For a staggered fence, you will want to account for the edges of your plants to visually overlap for optimal security.
5. Order enough plants to fill in the space once they’re fully grown. Remember you’re planting for the future, not the present. You may want to order a handful of extras to add to your foundation planting. This can unify your landscaping.
6. When your plants arrive, you can begin to dig. Measure the distance between holes carefully. You do not want your fence to look haphazard, and digging up your shrubs is a difficult job and not always successful. Follow the planting instructions that come with your plants, but keep in mind that most shrubs and trees need a hole that is twice the width and depth of the plant’s root ball.
7. Once your holes are ready, thoroughly soak your pots to loosen the roots. As you remove the plants from their pots, massage the roots loose, so none are growing inward or concentrically--you may need to trim some.
8. Pour water into each hole to encourage roots to grow outward and to add moisture for a healthy transplant.
9. Place the root ball in and backfill the hole. Most shrubs benefit from a layer of mulch around their base. You will also want to water your newly planted shrubs well for the first few weeks to a year until they’re fully established.
10. As your shrubs grow, trim and shape them to your liking. And enjoy living your green dream!
Shrubs are not the only way to create a living fence. You can also train vines along a trellis, wire, or wooden structure. Or create an espalier by trimming, training, and maintaining a woody vine, tree, or shrub on a flat surface structure.
If you’re planning to plant a fence in the near future, take the time to drive around your neighborhood or town to help narrow down what species and styles you prefer.
Once you’ve made up your mind, begin planning and shopping for the perfect shrubs, vines, and trees to turn your yard into a lush escape.
Happy planting!
