Have you ever wondered how to care for a ZZ plant?
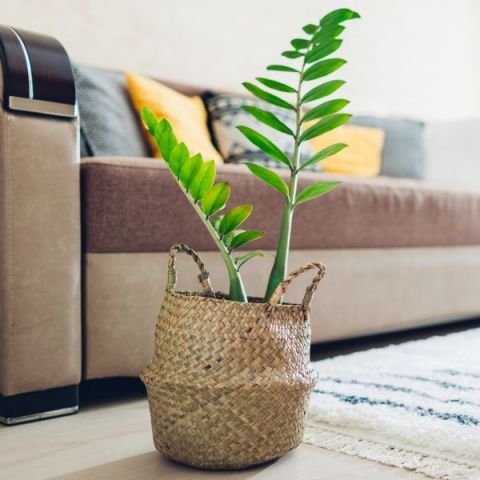
We call this guy by ZZ because of its scientific name, Zamioculcas zaniifolia, or some refer to them as Zuzu plant or Emerald palm. The ZZ plant is one of the easier plants to care for, they thrive from neglect. If you have a business or slightly bright location this is a great plant for that space.
The ZZ plant has to be one of the easier house plants to care for, give it a lack of attention and a little light and these guys can live on. With the right care and upkeep, your ZZ plant will bring you years of joy.
Here are a few basic guidelines to follow when learning to care for your ZZ plant. Remember, everyone’s home and the environment at that home is a little different, so no single experience will be the same.
Light
The ZZ plant can survive in some of the lowest light levels. Building designers use them in windowless walkways, under these conditions there needs to be enough light provided through fluorescent or LED bulbs.
ZZ plants can live in these super low light environments, however, they will hardly grow, if at all, they just stunt out as a green statue. To achieve a bit of growth increases the light a bit around your ZZ plant or move it to a brighter location.
ZZ plants can be in super low light, they can also withstand partly sunny locations, just don’t move them from one to the other without transitioning a bit. Too much sun can brown the leaves.
The best light for a ZZ Plant is a North or East facing window, genital morning sun is going to be easier on the ZZ than Evening sound from a west-facing window.
Watering
The ZZ plant can tolerate soils that have become bone dry, and this is often the preferred time to water the ZZ plant. These plants can store a lot of water in their stems and rhizomes, allowing them to go weeks even months without water.
Understand that the light intensity, as well as room temperature and pot size, can affect how quickly ZZ plants dry out and need to be watered. The more light, warmer conditions, and smaller pots will all tend to try out faster than being in low light conditions.
Soil
ZZ plants love soil that is loose, well-drained, and dries out quickly, they can easily develop root rot in poorly drained soil. Use a potting soil such as a cactus blend or one with lots of perlite or grit to provide drainage.
Every year or two it's good practice to change the soil of your ZZ plant and repot. You may notice at some point leaves begin to brown or roots are growing out of the drainage holes. This is a good sign to repot your ZZ plant.
Fertilization
Like all plants ZZ plants need to have a regular feeding of nutrients, this can be with a monthly or bimonthly granular fertilizer or adding liquid feeds to their watering schedule.
ZZ plants will respond well to most fertilizers as long as they provide the basic nutrients plants need to survive. For this choose an all-purpose type fertilizer or something like fish and kelp meal.
It’s a good idea to limit or completely negate feeding your ZZ plant during the winter months. After the long summer days pass into fall the ZZ plant will begin to go dormant, during this time adding fertilizer can build up and cause root or pest issues. The ZZ plant growth halts during this dormancy period.
Temperature and humidity
The ZZ plant will grow best when the temperature ranges between 65F-80F, they can handle a bit of warmth and chill beyond this but growth will slow. ZZ plants shouldn’t be kept near cold and drafty windows, especially when temperatures outside drop below freezing.
Propagation
The easiest way to propagate your ZZ plant is to take divisions, separating the growing shoots and rhizomes during repotting. As long as a root is large enough you should be able to cut and divide them.
The second way to propagate a ZZ plant is by taking leaf cuttings straight from the growing plant without having to repot or take from its container. Cut a healthy leaf as close to the soil level as possible, remove a few of the bottom leaflets.
Move the stem cutting into a jar with a shallow amount of water, allow to set roots, usually around a few months to a year. The leaflets can be propagated as well by placing them at a 45-degree angle in soil and keeping slightly moist.
Once your new rooting leaf cutting is ready or you have dividing larger growing plants you can repot them into fresh soil and watch them grow.